


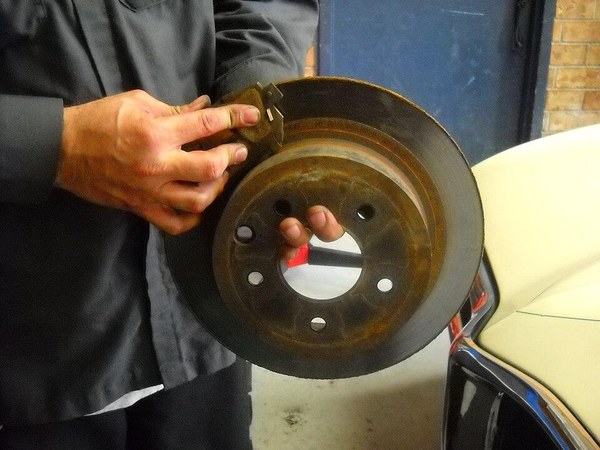
Delivery driving is hard on brakes, which makes routine brake service a recurring expense. Replacing pads can also look deceptively simple in a short video: lift the car, remove a few parts, put the new pads in and go.
We asked Claude AI to help us get insight into the line between a reasonable do-it-yourself maintenance job and a safety-critical repair that should stay with a professional. The answer depends on tools, experience, vehicle design, rust, caliper condition, torque requirements and the ability to recognize problems that are not merely worn pads.
DIY Brake Pad Changing for Gig Delivery Drivers
 Signs You Need New Pads
- Squealing or high-pitched squeaking when braking (that’s the built-in wear indicator)
- Grinding metal-on-metal sound (pads are gone — stop driving and fix immediately)
- Longer stopping distances or a soft/spongy pedal
- Vibration when braking
Don’t push worn pads too long — grinding down to metal means you’re now paying for rotors too, which is a much bigger bill.
Tools You’ll Need
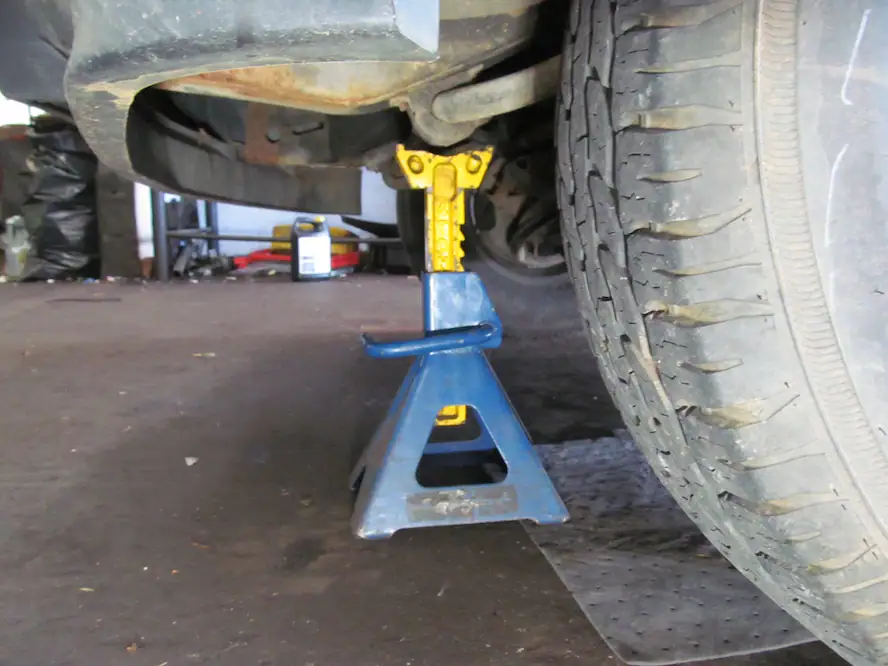
 Lug wrench and a jack (plus jack stands — never work under a car on a jack alone)
- C-clamp or brake caliper piston tool
- Socket set (for caliper bolts)
- New brake pads (check your make/model)
- Wire brush and brake cleaner spray
- Gloves and safety glasses
Step-by-Step
 1. Loosen lug nuts, then jack up the car. Loosen the lug nuts slightly while the wheel is still on the ground (easier with resistance). Jack up the car and set it securely on jack stands. Remove the wheel completely.
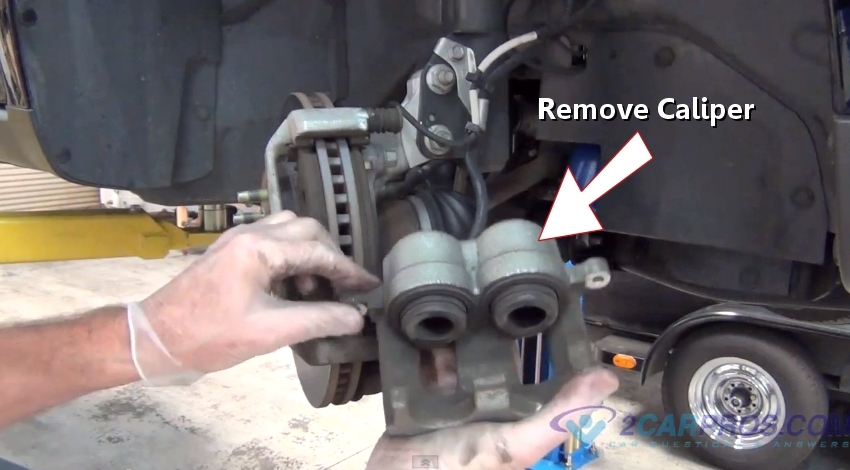
2. Locate and remove the caliper. The caliper is the part clamping over the rotor. Remove the two bolts holding it in place (usually with an Allen or Torx socket). Don’t let the caliper hang by the brake line — tie it up or rest it on something to avoid stressing the hose.
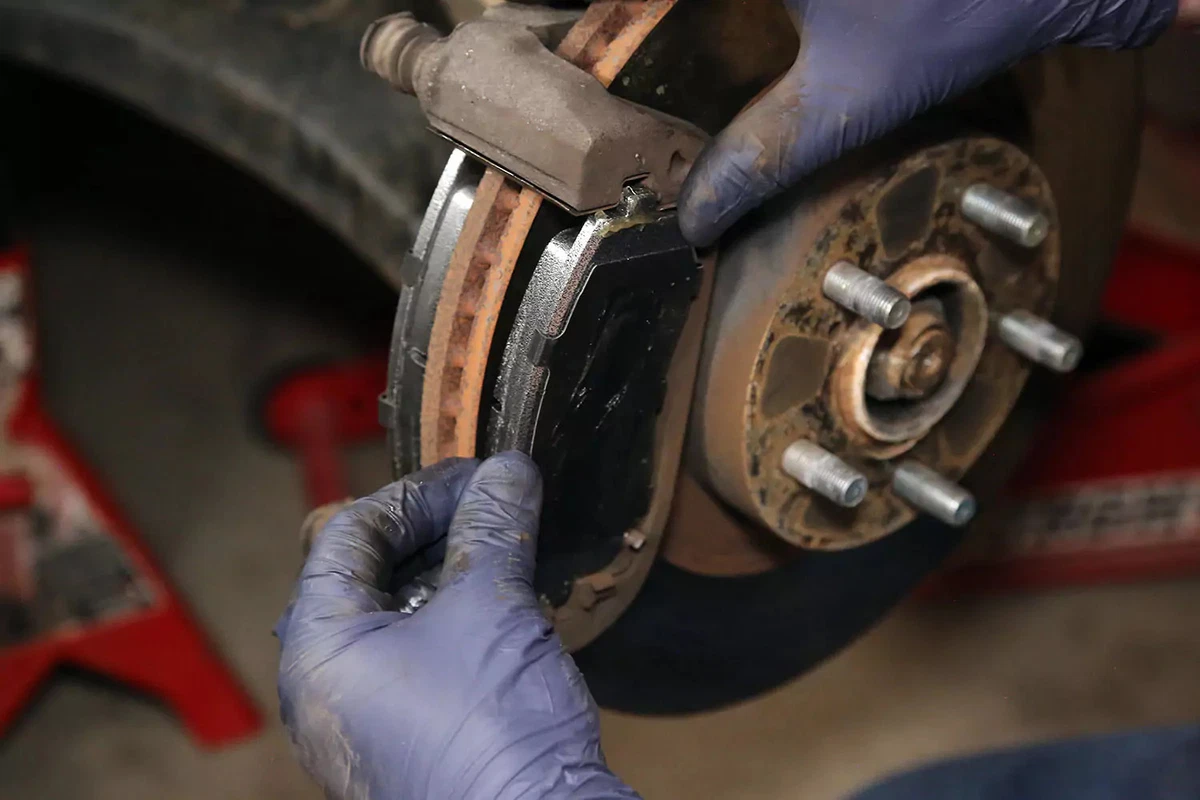
3. Remove the old pads. They usually just slide out of the caliper bracket. Take note of any clips, shims, or springs and their orientation — you’ll need to transfer these to the new pads.
4. Compress the caliper piston. Use a C-clamp or piston tool to push the piston back into the caliper. This makes room for the thicker new pads. Keep an eye on the brake fluid reservoir — it may rise as you do this.

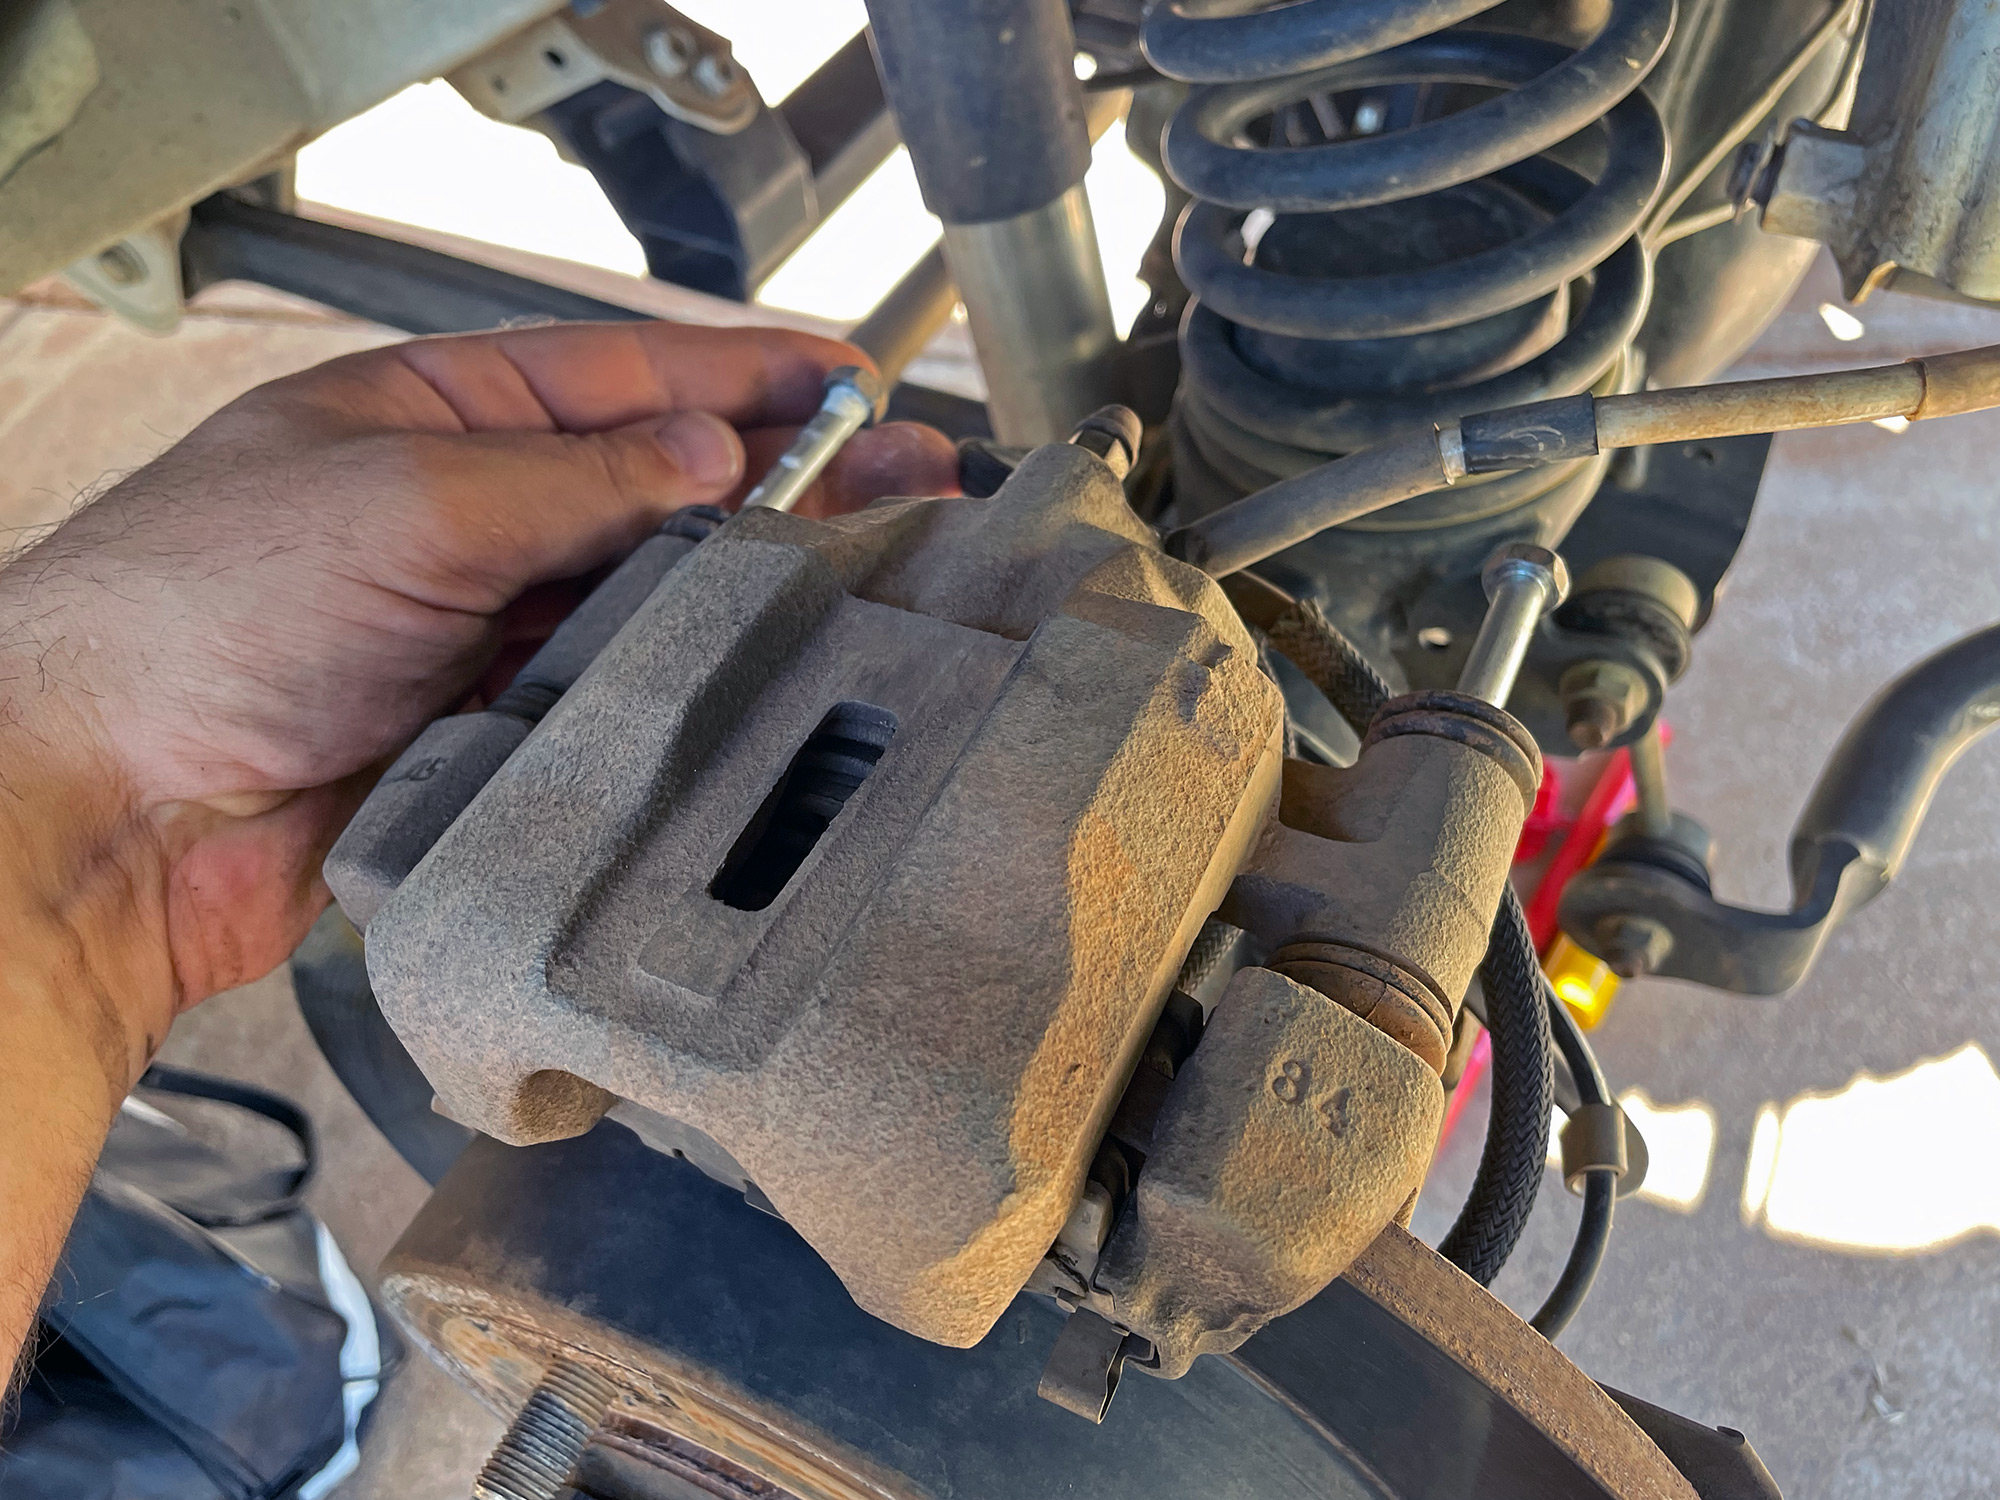
5. Install the new pads. Slide them into the bracket the same way the old ones came out, transferring any clips or shims. Apply a thin bit of brake grease to the back of the pads (not the friction surface) to reduce squeal.
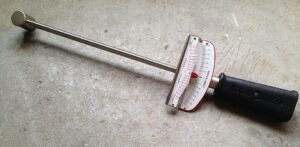
6. Reinstall the caliper and torque the bolts. Bolt the caliper back over the rotor and pads. Torque to your vehicle’s spec (usually listed in the owner’s manual or a quick search by make/model).
 7. Reinstall the wheel and pump the brakes. Put the wheel back on, lower the car, and torque the lug nuts in a star pattern. Before driving, pump the brake pedal several times until it feels firm — this reseats the pistons against the new pads.
8. Bed in the new pads. Do a series of moderate stops from about 35 mph down to 10 mph over your first few miles, without coming to a complete stop each time. This transfers an even layer of pad material onto the rotor and gives you full stopping power sooner.
Gig-Driver Specific Tips
- Do it between shifts, not during one. A rushed brake job is a safety risk — budget a full hour when you’re off the clock.
- Keep a mini toolkit in the trunk. A lug wrench, gloves, and flashlight let you spot-check pad thickness during a slow stretch.
- Track mileage per pad set. With gig driving, you rack up miles fast — pads that last 40k for a normal commuter might only give you 15–20k. Check them every couple months.
- Front pads wear faster. If you’re only replacing one axle to save money, it’s almost always the fronts.
- Log it as a business expense. Brake pads, tools, and even your labor time may be deductible — keep the receipt.
If your rotors are also grooved, warped, or below minimum thickness, that’s a separate job — worth checking while the wheel’s already off, since you’re halfway there anyway.